

Flashes are used in a sunroom to balance the light to the outdoors. You must be very careful in your flash placement, or the glass will become a mirror and reflect the flash. Here the angle of the flash and the power match so well that you almost don’t notice the glass separating the indoors from the outdoors.
You are at a wedding under a tent, and there appears to be enough light, but why does the subject keep coming out so dark? If I turn on the flash now, it looks much better. But, now it gets closer to dusk, the background is too dark, and I can’t tell where we are anymore; what can I do? The problem is that the flash lights up subjects close to you, and the background goes dark on black.
THERE’S HOPE FOR YOU.
You are in luck if you have one of the newer digital cameras with 1600, 3200, or 64 ISO settings00. These high ISO settings let you take photos with very little light. As a result, you can get pictures in many situations where flash was required before.
The issue many of us face is not the amount of light available but the direction and quality of that light. For example, if you are under a tent, it is challenging to take a photograph where the outside isn’t in the background. This is where almost every subject has more light on the background than on their faces. On the other hand, if you shoot in the daytime, it is straightforward to turn on your flash and take photos. In this situation, you most likely will not only get a well-exposed photograph of the subject but the background will be adequately exposed.
Another situation we will find ourselves shooting in is those beautiful sunrooms. You get to experience some of the outdoors in not only a calm air-conditioned environment, but for many of us, we share it allergy free. In this situation, if you turn the flash on to compensate for your subject’s being backlighted, you may have to move a little not to get glare in the glass. The simplest way to do this is to be sure you are not perpendicular to the window but on a slight angle.

Once you have used a flash in these scenarios, you quickly discover the joy of photography: you have a well-exposed subject and a well-exposed background that helps you capture the environment.
SUNLIGHT AND FLASH DO MIX
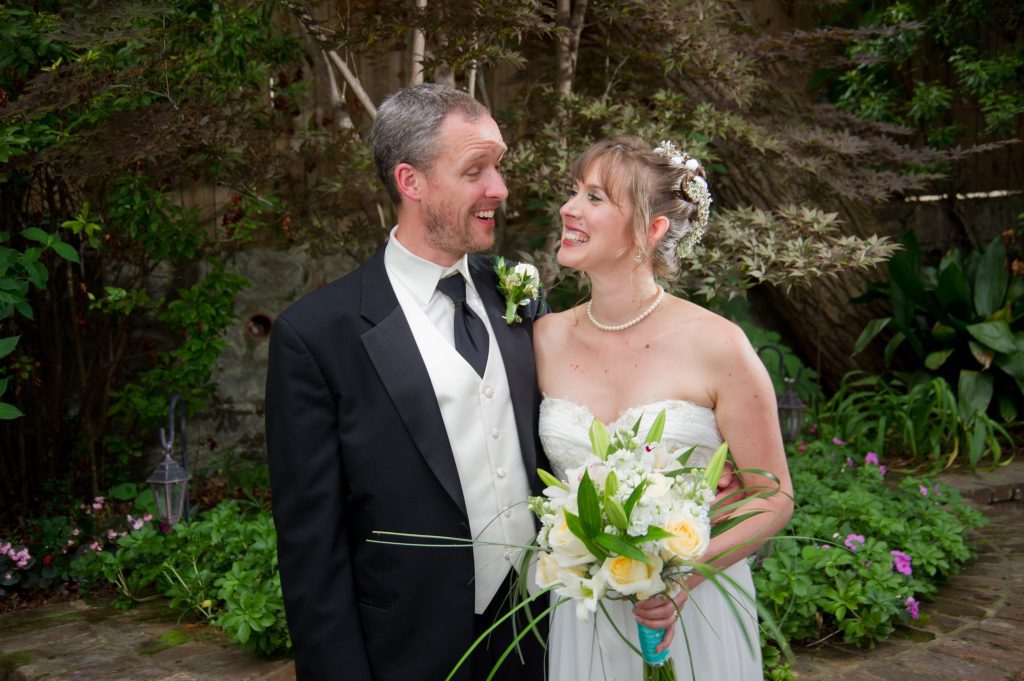
A flash can improve your photos even at the beach, where sunlight is everywhere. So often, we light to have the sun behind the subject at the beach for a self-evident reason—less squinting. But now the subject is backlit, and due to this, you have a similar effect of under a tent, just not as drastic of a light difference. So turn your flash on and open up those shadows.
During the middle of the day, when the sun is directly overhead, you end up with people having raccoon eyes. This is where the sun casts a shadow on folks’ eyes, especially if they have deep-set eyes and are wearing a hat.
FLASH AT DAWN AND DUSK
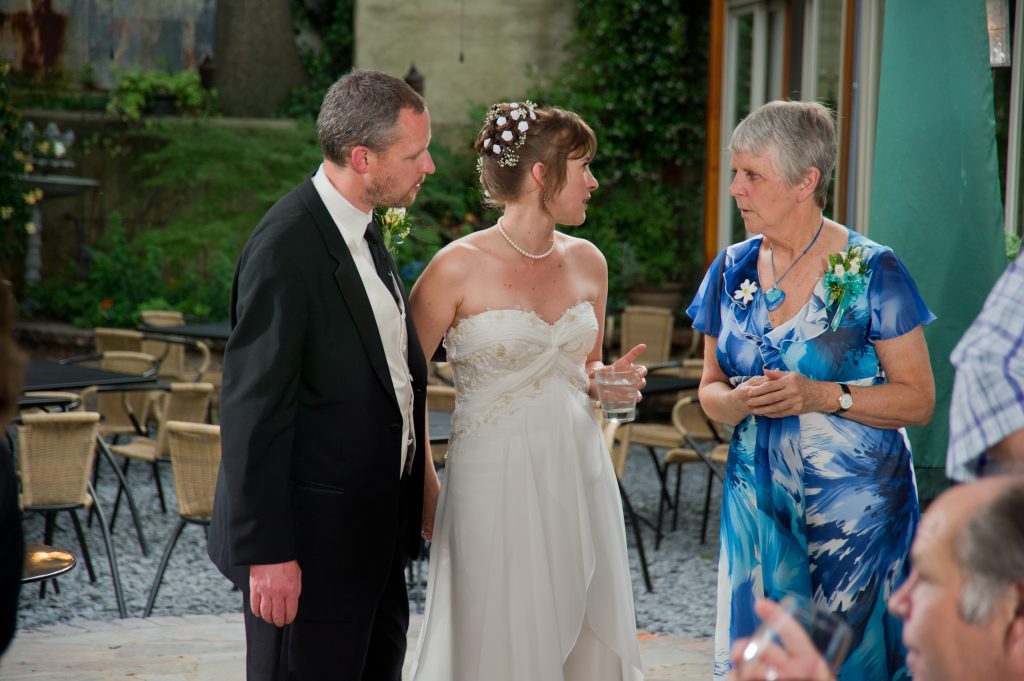
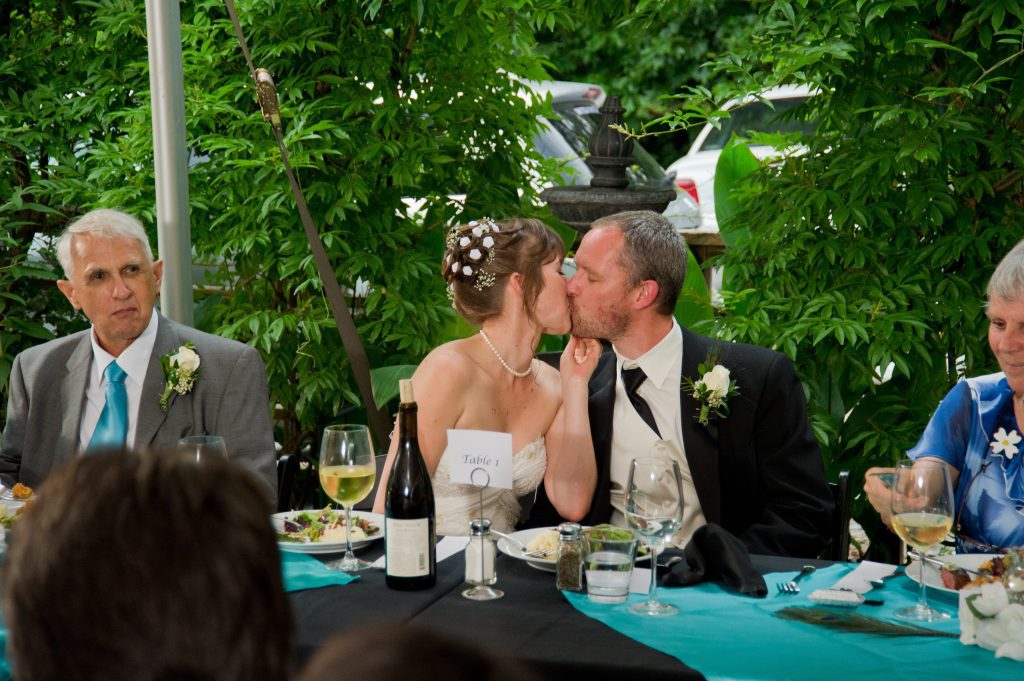
Just the other day, I was photographing at a friend’s wedding. The wedding started at 6 p.m., and as we moved into the reception, the light dropped quickly until it was dark. Now if you have your camera set to do it all for you automatically and you read the manual on how to force the flash on rather than just automatic mode, you could take the photos as I described above. I didn’t tell you how to do this with your camera because every camera manufacturer has a different way to do this, not only for their brand but often their separate models do it differently—so read your manual.
No, if you turn your flash on under the tent as the light drops off, you will most likely get a dark or even black background. The reason for this is your camera if in an automatic mode, will drop to the lowest ISO setting when your flash is turned on. Even if your camera has an ISO as high as 6400, you will most likely shoot at an ISO of 100 or 200 the minute you turn the flash on. Why is this default? The main reason is that the lower the ISO, the better the image quality. You have a more excellent dynamic range, the photos have less contrast, and the colors are more accurate.
Up until just a couple of years ago, they were shooting anything above an ISO of 400 rendered pretty awful quality. Only in the last couple of years did the camera manufacturers improve the quality of the high ISO. Today the quality of many cameras shooting at an ISO of 6400 looks as good as ISO 400 just a few years ago. Now you can shoot at ISO 6400 and get beautiful results.
In most situations today, with these new cameras with an ISO of 6400, you can take great photos without flash in ordinarily lit rooms inside.
For the wedding I was at, they had candles on the table and one chandelier in the middle of the tent, and the amount of light, even at 6400 at 10 p.m. that night, wasn’t enough to take the photos. But when we first were under the tent at 6:30 p.m., there was enough light outside. So, I could have had my camera set on auto everything, forced the flash on, and had good exposure on the faces and background looking wonderful. So, this doing this then, but as the night fell, the background started to go very dark. So, I changed my ISO to 800 a little later, raised it again to 1200, and I was up to 6400 ISO by the night’s end.
BONUS FEATURE
Another bonus of shooting with a flash when your camera is set at ISO 6400 is that the flash doesn’t use as much light, and your batteries will last longer.
SUMMARY
Find your camera manual and read two sections: turn your flash on and change the ISO. Once you know how to override the auto everything on your camera, you will get better photographs and finally get the photos this camera can do that you couldn’t get with the $8 disposable camera.