Some Anxiety Is Good For Photographers

A little bit of anxiety can be a normal and even helpful emotion in certain situations. It can motivate you to prepare for challenges and perform at your best. For example, if you have a big exam or presentation coming up, feeling a little bit of anxiety can help you focus, study harder, and perform to the best of your ability.

On the other hand, excessive anxiety can be debilitating and interfere with your daily life. It’s important to find a balance and not let anxiety take over. If you feel like your anxiety is overwhelming or disrupting your life, it’s essential to seek help from a mental health professional. They can help you develop coping strategies and work through any underlying issues contributing to your anxiety.

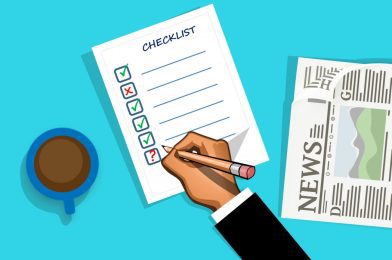
Creating a checklist can be a helpful tool for managing anxiety in several ways:

  1. It helps you prioritize tasks: By writing down everything you need to do, you can see the most important jobs and tackle them first. This can help reduce feeling overwhelmed, which can contribute to anxiety.
  2. It helps you stay organized: A checklist can help you keep track of your progress and avoid forgetting important tasks. This can help reduce the stress and anxiety of feeling disorganized.
  3. It helps you feel more in control: Having a clear action plan can give you a sense of control over your life and reduce anxiety.
  4. It can serve as a reference: When you’re feeling anxious, you can refer to your checklist to remind yourself of what you’ve accomplished and what you still need to do. This can help you feel more focused and less anxious.

Creating and using a checklist can be a simple but effective way to manage anxiety and reduce stress.

Here are some things that a photographer might include on their checklist before a big job:

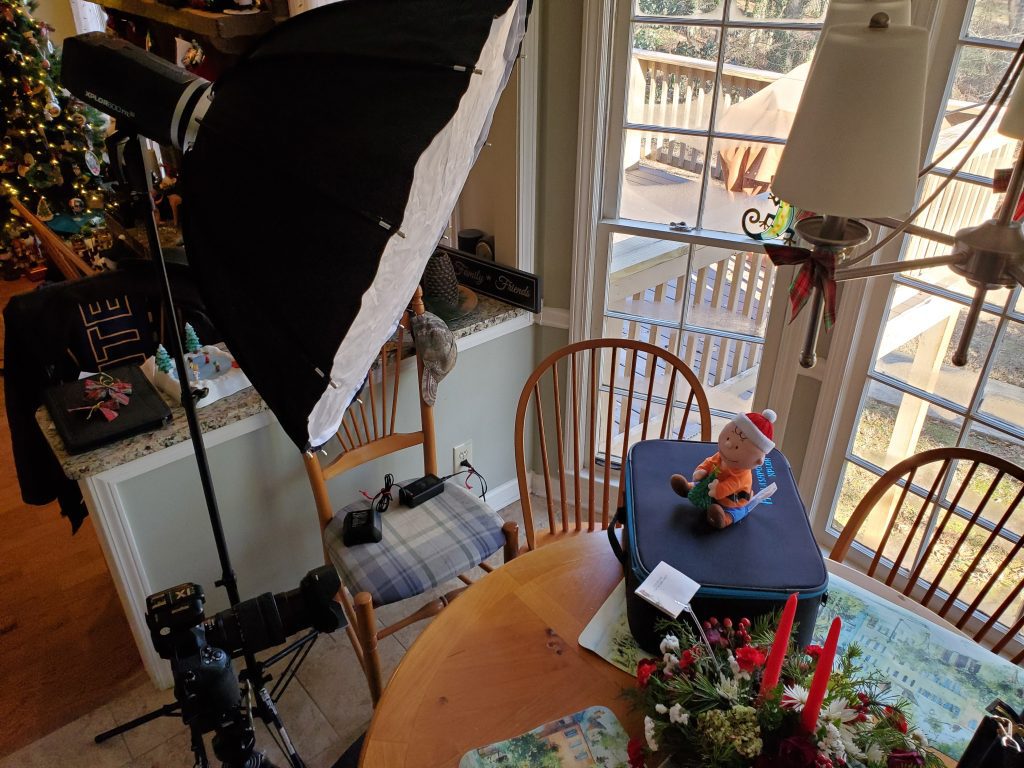
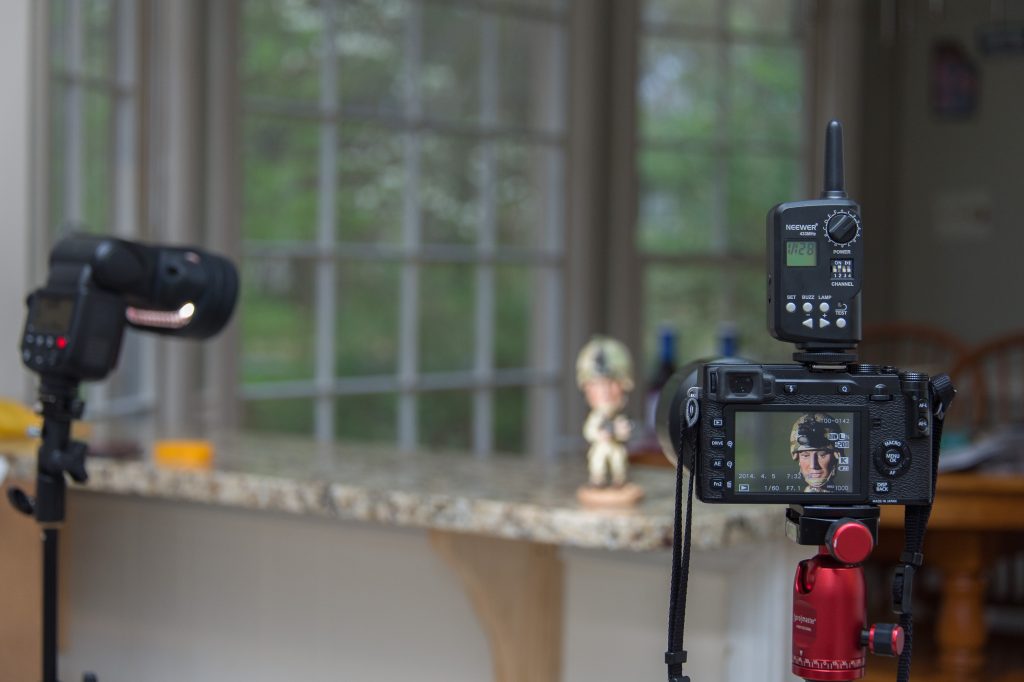
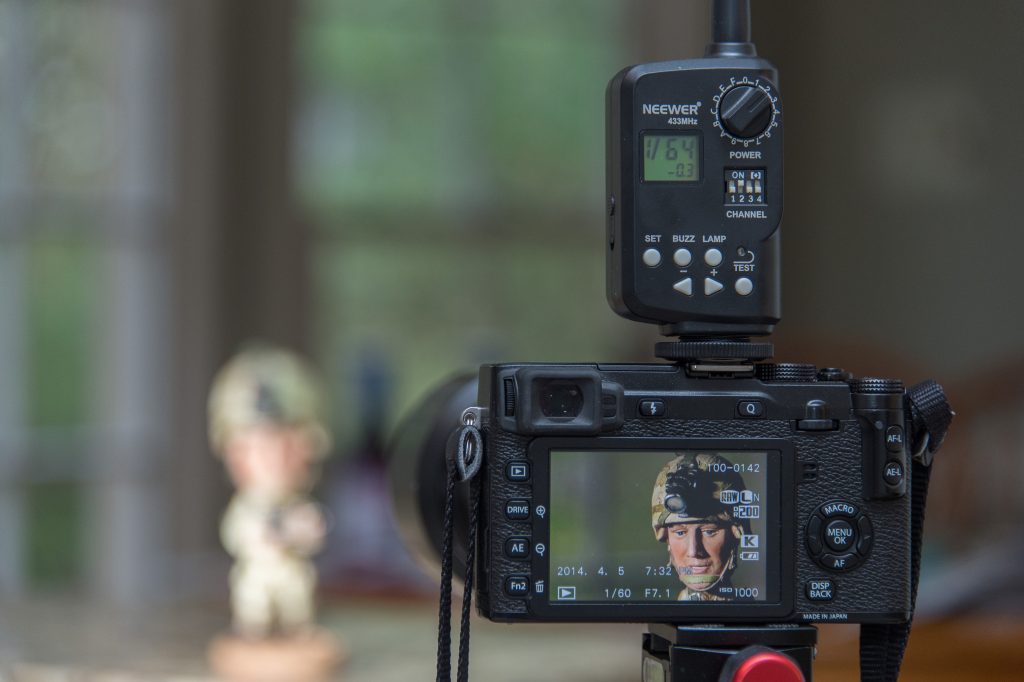
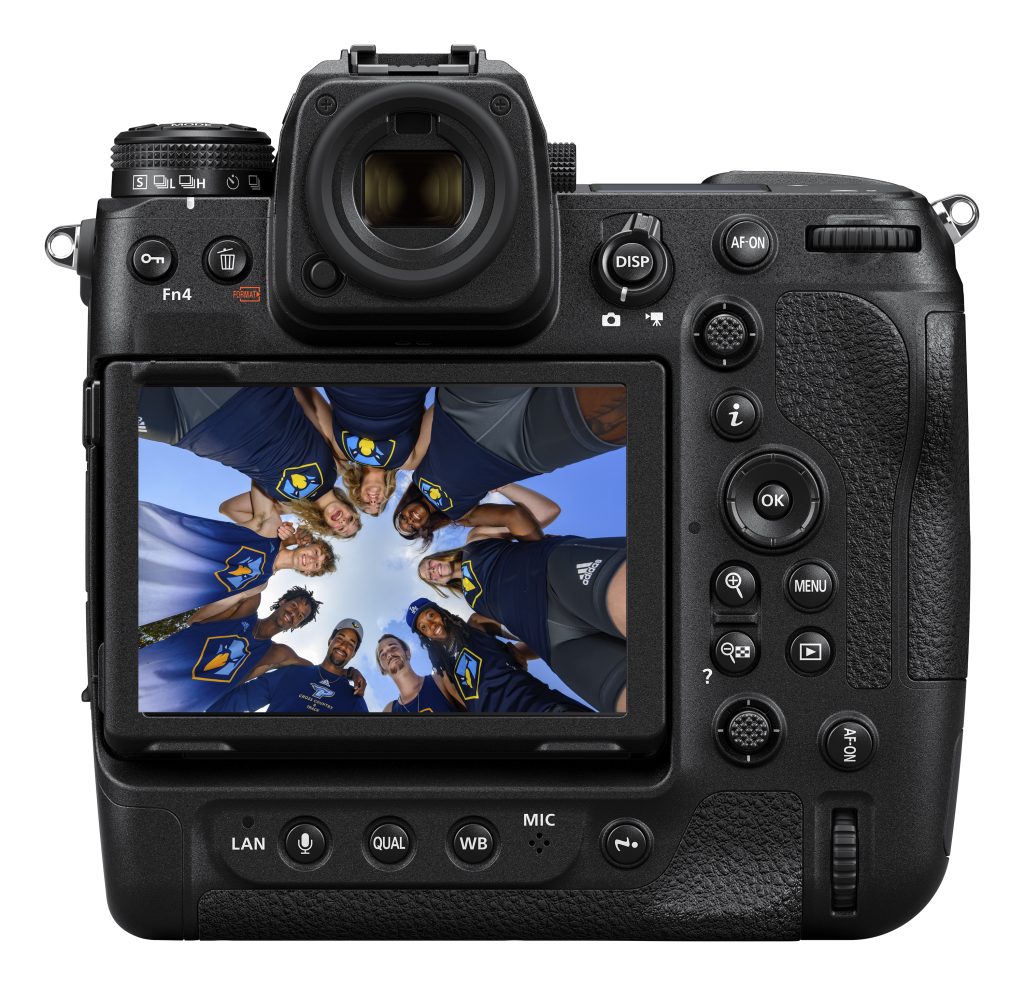
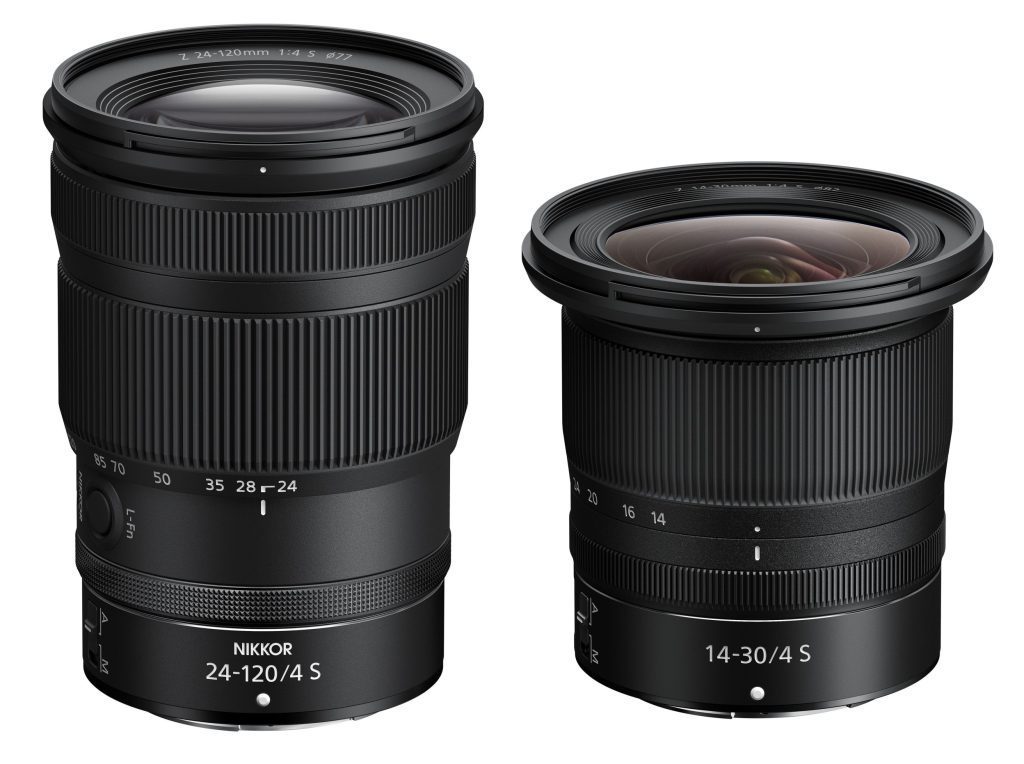
  1. Camera equipment: Make sure you have all the necessary lenses, batteries, memory cards, and any other equipment you need.
  2. Lighting equipment: If you’re using artificial lighting, bring all the necessary lights, stands, and modifiers.
  3. Backup equipment: It’s always a good idea to bring backup equipment if something goes wrong. This might include an extra camera body, lenses, batteries, and memory cards.
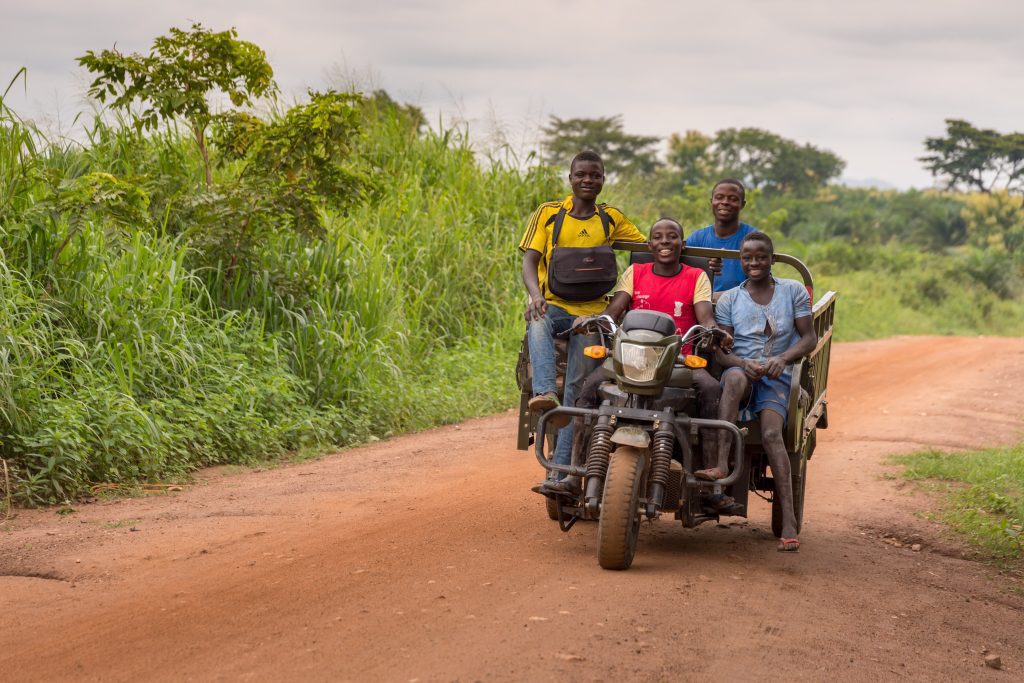
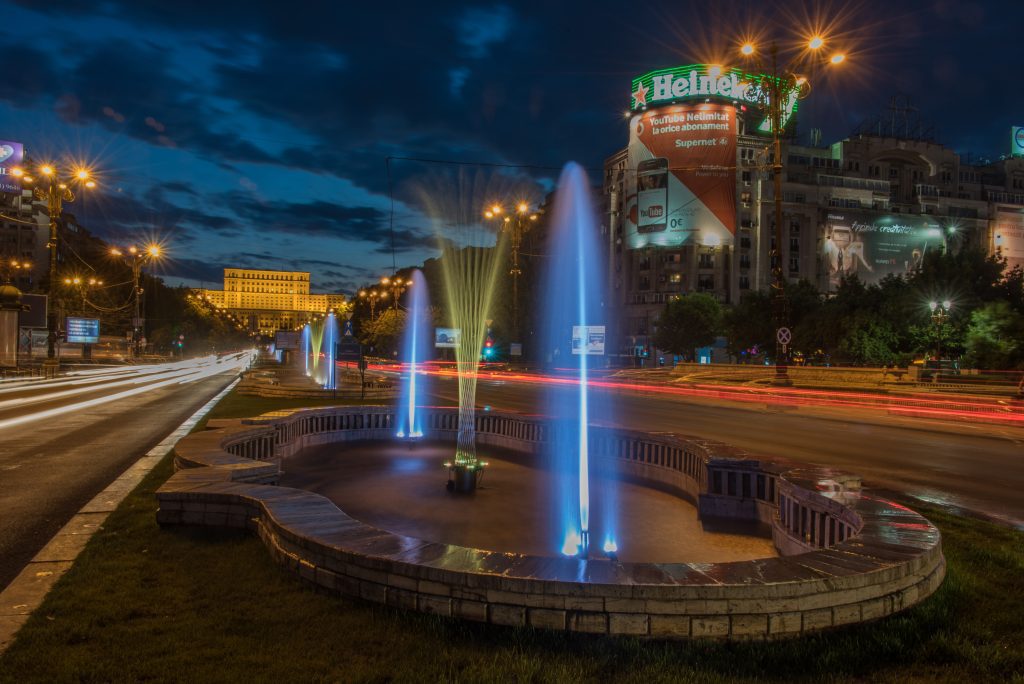
  4. Location scouting: If you’re shooting on location, scout the area beforehand to get a sense of the available light and identify any potential challenges or issues you may need to work around.
  5. Client information: Make sure you have all the contact information for the client, including their name, phone number, and email address.
  6. Shot list: If the client has provided a shot list, review it beforehand to ensure you understand what they’re looking for and can plan accordingly.
  7. Model releases: If you’re working with models, be sure to have the necessary model releases on hand.
  8. Insurance: Depending on the job, you may consider bringing your liability insurance documents.
  9. Business cards: It’s always a good idea to bring business cards to a big job in case you meet any potential clients or collaborators.
  10. Snacks and water: It’s essential to stay hydrated and fueled throughout the day, so be sure to bring some snacks and water with you.

What Every Business Owner Can Learn From Southwest Airlines Mistakes

Over the past week, Southwest Airlines has shown us why reinvestment into a company needs to be balanced with pulling profits out of business. Unfortunately, through the years, some of their leadership didn’t focus enough on reinvestment, and now they are paying the price in more ways than one.

What Is The Mistake Of Concentrating On Profits?

Trying to make a business profitable and pulling out profits is a common goal for many business owners. After all, the ultimate goal of a company is to generate revenue and turn a profit. However, there are times when trying to make a business profitable and pulling out profits can backfire. Here are a few reasons why:

  1. Ignoring long-term sustainability: If a business owner is focused solely on making a profit in the short term, they may make decisions that sacrifice long-term sustainability. For example, cutting corners on product quality or neglecting to invest in necessary maintenance and upgrades can lead to problems down the line.
  2. Failing to reinvest profits: While it’s essential to generate profits, it’s also important to reinvest a portion of those profits into the business. This can include investing in new equipment, expanding operations, or conducting research and development. Refraining from reinvesting profits can limit a business’s growth and make staying competitive in the long run challenge.
  3. Alienating employees: If a business owner is solely focused on making a profit, they may need to pay more attention to the well-being and satisfaction of their employees. Unfortunately, this can lead to high employee turnover and a hostile work environment, ultimately harming the business.
  4. Losing sight of the company’s mission: If a business owner is too focused on making a profit, they may lose sight of the company’s mission and values. This can lead to a disconnect between the business and its customers, ultimately harming the business.

In conclusion, while making a business profitable and pulling out profits is essential, it’s important to consider the long-term sustainability of the company and the well-being of employees and customers. A business can achieve long-term success by balancing profit and sustainability.

Why A Good Reinvestment Strategy Leads To Long Term Profits

Reinvestment, also known as plowing back profits, uses a portion of a company’s profits to reinvest in the business rather than distributing the profits to shareholders or owners. This can make investing in new equipment, expanding operations, or research and development.

For many businesses, reinvestment is integral to their growth and success. Here are a few reasons why:

  1. Reinvestment allows a business to stay competitive: By investing in new equipment or technology, a company can improve its efficiency and productivity, which can help it remain competitive in its industry.
  2. Reinvestment can lead to future growth: By investing in new ventures or expanding operations, a business can set itself up for future growth and success. This can help a company achieve long-term sustainability.
  3. Reinvestment can improve the value of a business: When a business is seen as a good investment, it can attract investors and increase the company’s value. This can be especially important for small businesses looking to expand or go public.
  4. Reinvestment can help a business weather economic downturn: By having a solid foundation and resources to draw on during difficult times, a business that has reinvested in itself can be better prepared to weather economic downturns or shifts in the market.

While reinvestment is essential for many businesses, it’s also crucial for business owners to consider the balance between reinvestment and distributing profits to shareholders. For example, a company that consistently reinvests all of its earnings may not be attractive to investors, as they may not see a return on their investment. Therefore, business owners need to consider their business’s needs and their shareholders’ expectations when deciding on the appropriate level of reinvestment.

Overall, reinvestment is essential for businesses to consider as they strive for growth and success. By investing in their operations and future growth, companies can set themselves up for long-term sustainability and success.

What Photographers Can Do To Reinvest

Photographers can reinvest in their company in several ways to improve their business and increase their chances of success. Here are a few ideas:

  1. Invest in new equipment: Upgrading your camera, lenses, and other equipment can improve the quality of your work and make you more competitive.
  2. Expand your services: Consider offering additional services, such as photo editing or video production, to increase your revenue streams.
  3. Invest in marketing and advertising: Marketing and advertising can help you reach new customers and increase your visibility. Consider investing in social media marketing, email marketing, or print advertising to promote your business.
  4. Invest in education: Continuing education can help you stay up-to-date on the latest photography techniques and technologies. Consider attending workshops, taking online courses, or joining a professional organization to continue learning and improving your skills.
  5. Invest in your website: A professional-looking website can be a powerful marketing tool for photographers. Consider investing in a custom website design, adding a portfolio of your work, and optimizing your site for search engines to attract more customers.
  6. Invest in networking: Building relationships with other photographers, industry professionals, and potential clients can be a great way to grow your business. Consider joining a photography group or attending industry events to make connections and expand your network.

By investing in these areas, photographers can improve their business, increase their visibility, and set themselves up for long-term success.

Some Tips For Those Who Want To Shoot Sports

What Are The Elements Of A Great Sports Photograph?

Several elements can contribute to a great sports photograph:

  1. Action: A great sports photograph captures the action and energy of the game or event. This might involve capturing the peak of an athlete’s motion or the moment of impact in a collision.
  2. Emotion: A great sports photograph often conveys the emotions of the athletes or spectators, whether it be joy, frustration, or determination.
  3. Composition: A well-composed sports photograph will have a clear and balanced arrangement of elements within the frame. This might involve using leading lines, placing the subject off-center, or using negative space to create balance.
  4. Light: Good lighting is crucial for any photograph, and this is especially true in sports photography. A great sports photograph will use available or artificial light to create a sense of drama or highlight key elements in the frame.
  5. Timing: Capturing the decisive moment is crucial in sports photography, and a great sports photograph will have perfect timing to capture the peak of the action.
  6. Technical quality: A great sports photograph will have good technical quality, with sharp focus, good exposure, and accurate color representation.
Matt Wieters, Georgia Tech’s catcher, tags out Alex Garabedian at home plate during play at the Russ Chandler Stadium in Atlanta, Georgia. [NIKON D2X, 28.0-300.0 mm f/3.5-5.6, Mode = Aperture Priority, ISO 800, 1/3000, ƒ/5.6, (35mm = 400)]

By incorporating these elements, a sports photographer can create powerful and memorable images that capture the excitement and drama of the game or event.

Chick-fil-A Bowl [NIKON D3, 400.0 mm f/2.8, Mode = Aperture Priority, ISO 4500, 1/1000, ƒ/2.8, (35mm = 400)]

What Lenses Do A Sports Photographer Need To Shoot A Football?

Sports photographers typically use a variety of lenses depending on the assignment’s specific needs and the event’s characteristics or venue’s characteristics. For football or soccer, some common lens choices may include:

Roswell High School’s #1 Sheldon Evans has John’s Creek #1 Daquez Crawford and #8 Zach Brieck attempting to bring him down in a pre-season football game in Roswell, GA [NIKON D4, 120.0-300.0 mm f/2.8, Mode = Aperture Priority, ISO 12800, 1/640, ƒ/5.6, (35mm = 600)]
  1. Telephoto lenses: Telephoto lenses allow you to capture close-up shots of the action from a distance and are ideal for shooting from the sidelines or stands. Lenses with focal lengths of 70-200mm or longer are often used for this purpose. I recommend that you need lenses in the 400mm to 600mm range to capture the action from the sidelines that happen in the middle of the field.
  2. Wide-angle lenses: Wide-angle lenses help capture panoramic shots of the field or stadium and can help show the context and environment in which the game is being played. Lenses with focal lengths of 16-35mm or wider are often used for this purpose.
  3. Zoom lenses: Zoom lenses offer the versatility of shooting at different focal lengths, allowing you to switch between wide and telephoto perspectives as needed. Lenses with focal lengths of 24-70mm or similar are often used for this purpose.

It’s worth noting that the specific lens choices for a sports photographer will depend on the assignment’s specific needs, the venue’s characteristics, and the photographer’s preferences. Some sports photographers may choose to use prime (fixed focal length) lenses, while others may prefer the flexibility of zoom lenses. It’s essential to have a range of lenses available to be able to capture a variety of shots and perspectives.

Hawaii High School State Finals at the Parker Ranch on The Big Island [NIKON D5, 28.0-300.0 mm f/3.5-5.6, Mode = Aperture Priority, ISO 1250, 1/4000, ƒ/5.6, (35mm = 300)]

Where Are Sports Photographers Published?

Sports photographers are published in various places, including magazines, newspapers, websites, and social media platforms. Some of the most common areas where sports photographers are published include:

  1. Sports magazines: Many sports magazines, such as Sports Illustrated, publish photographs from sports events and profiles of athletes.
  2. Newspapers: Sports photographers often work for newspapers and contribute images to the newspaper’s sports section.
  3. Websites: Many sports websites, such as ESPN.com and CBSSports.com, feature photographs taken by sports photographers.
  4. Social media: Sports photographers often use social media platforms like Instagram and Twitter to share their work and connect with followers.
  5. Books and exhibitions: Sports photographers may also publish their work in books, galleries, or other public spaces.
  6. Sports Trading Cards: A trading card is a small card, usually made out of paperboard or thick paper, which usually contains an image of a specific person on the front and a short description of the picture, along with other text, like statistics, on the back of the card.

It’s worth noting that the specific outlets where sports photographers are published may vary depending on the location and the photographer’s specific areas of focus.

Nick Saban, head coach of Alabama during the Chick-fil-A Kickoff of Alabama vs West Virginia [NIKON D4, 120.0-300.0 mm f/2.8, Mode = Aperture Priority, ISO 20000, 1/2000, ƒ/5.6, (35mm = 600)]

How Does One Become A Sports Photographer?

To become a sports photographer, you must have a strong interest in sports and photography and a willingness to work hard and continuously improve your skills. Here are some steps you can take to become a sports photographer:

  1. Get a good camera and start practicing: Invest in a high-quality camera and lens, and take photos of sports events and athletes. Practice different techniques and get comfortable with your equipment.
  2. Take classes or earn a degree in photography: Consider taking classes or earning a degree to learn the technical and creative skills you need to succeed. I recommend workshops and trade schools that specialize in photography.
  3. Build a portfolio: As you improve your skills, create a portfolio of your best sports photos to show to potential clients or employers.
  4. Network and make connections: Attend sports events and meet other photographers, athletes, and sports industry professionals. This can help you get your foot in the door and learn about job opportunities.
  5. Get experience: Look for internships or entry-level positions with sports teams, newspapers, or other organizations that hire sports photographers. This will allow you to gain valuable experience and build your resume.
  6. Keep learning and improving: Stay up to date with the latest techniques and equipment, and continue to hone your skills through practice and education. As you build your reputation and experience, you may be able to land more high-profile assignments and advance your career.

Nikon Z9 Using HSS With Flashpoint XPlor 600 HSS TTL Can Cause Lines But Not So Much With Godox V860IIN

In this past blog post, “Venetian Blind Type Of Lines With Z9 And High-Speed Sync Flash,” I talked about how I got lines when using High-Speed Sync. I discovered this after shooting on a job.

First, I returned to the client and reshot all those affected and even more people. So you make it suitable for the client.

What Is High-Speed Sync?

The maximum shutter speed used with high-speed sync (HSS) flash varies depending on the camera and flash unit used. Most cameras and flash units can generally support HSS up to their maximum sync speed, typically around 1/250th of a second. However, some newer cameras and flash units are capable of HSS at even higher shutter speeds, up to 1/8000th of a second or higher.

It is important to note that the maximum shutter speed that can be used with HSS is not the same as the maximum flash sync speed, which is the fastest shutter speed at which the flash can properly synchronize with the opening and closing of the shutter. Flash sync speed is typically lower than the maximum shutter speed used with HSS.

To use HSS, you must set your camera to a high shutter speed and your flash to HSS mode. Consult your camera and flash unit’s documentation for specific instructions on how to do this.

My Controlled Test

When shooting outside, I try and have my subject backlit or at least in the shade so they are not squinting in the photo. Then I add a flash at 45º off the axis of the camera and then 45º above their eyes to help create some modeling using the shadows from the eyes, cheekbones, and nose.

Under each photo are the settings for each image. I only changed the ISO and let the camera pick the shutter speed. I started with ISO 25600 and went down by one stop.

[NIKON Z 9, NIKKOR Z 24-120mm f/4 S, Mode = Aperture Priority, ISO 25600, 1/8000, ƒ/4, (35mm = 93)]
« of 9 »

The lines disappeared when I went back and went by the third stop between ISO 12800 and ISO 6400. So it appears that ISO 8000 for this particular scenario is where I got the best results. This changed my shutter speed at ISO 12800, which was 1/6400, to 1/5000 at ISO 8000.

Testing High-Speed Sync with XPLOR 600 [NIKON Z 9, NIKKOR Z 24-120mm f/4 S, Mode = Aperture Priority, ISO 8000, 1/5000, ƒ/4, (35mm = 93)]
Testing High Speed Sync with XPLOR 600 [NIKON Z 9, NIKKOR Z 24-120mm f/4 S, Mode = Aperture Priority, ISO 12800, 1/6400, ƒ/4, (35mm = 93)]

There was a slight variation at the same ISO of 12800 with a shutter speed of 1/8000.

Testing High-Speed Sync with XPLOR 600 [NIKON Z 9, NIKKOR Z 24-120mm f/4 S, Mode = Aperture Priority, ISO 12800, 1/8000, ƒ/4, (35mm = 93)]

I am guessing that since most descriptions I have seen about HSS, the flash is pulsing and that at a shutter speed of faster than 1/5000 with the Flashpoint XPlor 600 HSS TTL lines show up.

Test With Godox V860IIN

Now when I ran the same test and only switched out to the Godox V860IIN inside the softbox, I got different results. For example, see below in this gallery.

[NIKON Z 9, NIKKOR Z 24-120mm f/4 S, Mode = Aperture Priority, ISO 25600, 1/8000, ƒ/4, (35mm = 79)]
« of 6 »

I believe a difference is attributed not to the Nikon Z9 camera but to the flash unit. I think the pulsing flash isn’t that consistent with the XPLOR 600.

I did try it a few times, and I did get the lines to show up with the Godox V860IIN. I think this is due to shooting fast and the unit not being fully charged, but not sure. I know it is less of a problem with this flash than the XPLOR 600 TTL.

[NIKON Z 9, NIKKOR Z 24-120mm f/4 S, Mode = Aperture Priority, ISO 10000, 1/6400, ƒ/4, (35mm = 79)]
Closeup of the above photo [NIKON Z 9, NIKKOR Z 24-120mm f/4 S, Mode = Aperture Priority, ISO 10000, 1/6400, ƒ/4, (35mm = 79)]

How To Use Slow Sync TTL Flash

Slow Sync TTL flash is a technique that allows you to achieve a balanced exposure between the ambient light and the light from the flash. It is beneficial when you shoot in low light conditions and want to capture the background and subject in focus.

To use Slow Sync TTL flash, you must set your camera to “Slow Sync” or “Rear Curtain Sync” mode, depending on your camera model. You will also need to set the flash to “TTL” (through-the-lens) mode, which allows the flash to communicate with the camera and adjust the flash output based on the light-metering information gathered by the camera.

I am testing slow sync at different ISO settings. [NIKON D4, 85.0 mm f/1.8, Mode = Aperture Priority, ISO 400, 1/60, ƒ/1.8, (35mm = 85)]
[NIKON D4, 85.0 mm f/1.8, Mode = Aperture Priority, ISO 6400, 1/500, ƒ/1.8, (35mm = 85)]

Here are the steps to use Slow Sync TTL flash:

  1. Set your camera to “Manual” mode and select a slow shutter speed (1/30 sec or slower). This will allow the ambient light to be captured in the image. Remember the Exposure Triangle. You can change the ISO as a way to control exposure. The benefit of using a higher ISO is that your flash becomes more powerful.
  2. Set the flash to “TTL” mode and mount it on your camera’s hot shoe or, even better, off-camera using a radio remote designed to work with your flash and camera.
  3. Point the flash at your subject and take a test shot.
  4. Review the image and adjust the flash output as needed. You can use the flash compensation setting on your camera or flash to increase or decrease the flash output.
  5. Take the final shot.

Keep in mind that the Slow Sync TTL flash can produce some ghosting or blur in the image if the subject or camera moves during the exposure. To minimize this effect, use a tripod or a stable surface to support the camera and keep the subject and camera as still as possible. You can also raise the ISO so that your shutter speed can increase.

Tips on mixing flash with available light

Flash can be a valuable tool for illuminating a scene or subject in low light conditions or adding fill light to a photograph in harsh lighting conditions. However, when using flash, it’s essential to consider how the flash will fit into the overall exposure of the picture.

Flash is typically treated as a separate light source when considering the exposure triangle. This means that you will need to adjust the aperture, shutter speed, and ISO to expose the photograph based on the available light properly and then use the flash to add additional light as needed.

Flash on a light stand and radio remote to trigger the flash on the camera. Flash is 45º off the axis of the lens.

One way to think about this is to use the available light to expose the background and then use the flash to light the subject. In this case, you would set the aperture, shutter speed, and ISO to expose the background properly and then use the flash to add light to the subject. The flash can be adjusted in terms of power and placement to achieve the desired lighting effect.

I exposed first for the background with the camera. Then I turned on the flash and turned the power up and down until I got the balance I wanted with the background.

It’s important to note that flash can be a very powerful light source, and it can be easy to overexpose the photograph if you are not careful. It can be helpful to use the camera’s histogram or a handheld light meter to get an idea of the overall exposure of the photograph and make any necessary adjustments.

Final results with the flash.

My First AI Blog Post: How Photographers should correspond with new clients

I went to https://openai.com/blog/chatgpt/, registered, and then typed in “Write a blog on How Photographers should correspond with new clients,” which is what it wrote in about 15 seconds. I then used Grammarly to check it for style. This is what I got below:

As a photographer, it’s essential to establish clear communication with your clients from the very beginning. This helps build trust, set expectations, and ensure everyone is on the same page throughout the process. Here are a few tips for corresponding with new clients:

  1. Be prompt: It’s essential to respond to inquiries and emails promptly. This shows that you are professional and reliable and helps set the tone for your relationship with the client.
  2. Be clear and concise: When communicating with clients, it’s essential to be clear and to the point. Avoid using industry jargon or technical terms that your client may not understand.
  3. Establish boundaries: It’s essential to establish boundaries with your clients from the beginning. This may include setting clear guidelines for communication (e.g., preferred method of contact, response time) and setting expectations for the shoot itself (e.g., arrival times, number of shots).
  4. Communicate any changes: If there are any changes to the shoot (e.g., location, time), it’s essential to communicate these to the client as soon as possible. This helps avoid confusion and ensures everyone is on the same page.
  5. Follow-up: After the shoot, it’s a good idea to follow up with your client to see if they have any questions or concerns. This helps to build trust and show that you are dedicated to providing the best possible service.

Overall, clear and effective communication is key to building a successful relationship with your clients. Following these tips establishes trust and sets the stage for a smooth and successful photoshoot.

So what do you think?

What Have You Done For Me Lately

Janet Jackson’s song is about her dating and how her boyfriend treats her. I have always said you never marry your clients, but you do date them. So you may want to listen to her song again and ask yourself, what are you doing for your clients lately?

Used to be a time when you would pamper me
Used to brag about it all the time
Your friends seem to think that you’re so peachy-keen
But my friends say neglect is on your mind
Who’s right?
What have you done for me lately?
Ooh, ooh, ooh, yeah
What have you done for me lately?
Ooh, ooh, ooh, yeah

– Janet Jackson
[NIKON Z 6, AF-S Nikkor 28-300mm f/3.5-5.6G ED VR, Mode = Aperture Priority, ISO 1600, 1/1000, ƒ/4.5, (35mm = 55)]

Don’t take your clients for granted. There is a delicate balance as to how you keep in contact with them.

This is the perfect time of year to evaluate your client relationships.

I never ask for more than I deserve
You know it’s the truth
You seem to think you’re God’s gift to this Earth
I’m tellin’ you, no way

– Janet Jackson

Those last verses remind me of being in a camera store and waiting for the guy in front of me to finish with the sales representative. I had known this salesperson for many years, and we were friends. After the guy left the store, the clerk commented that “some photographers are legends in their minds.”

A Few Tips

1.   Keep expectations practical. No one can be everything we might want them to be. Healthy relationships mean accepting people as they are and not trying to change them.

2.   Communicate with your clients.

  • Listen. Do not interrupt or plan what you’re going to say next. Instead, try to understand their perspective fully. Summarize what you heard by trying not to repeat their words. This shows you are listening and allows them to clarify their thoughts.
  • Ask questions.  Show you are interested.  Ask about their experiences, feelings, opinions, and interests.
  • Share information.  Sharing information gets the ball rolling.  Let people know who you are, but don’t overwhelm them with too much personal information too soon.

3.   Be accommodating. It is instinctive to feel uneasy about changes. Healthy interactions allow for change and growth.

4.   Be dependable. If you make plans with someone, follow through. If you take on a responsibility, complete it. Healthy client relationships are trustworthy.

5.   Fight fair. Most relationships have some conflict. It only means you disagree; it does not have to tell you don’t like each other.

  • Cool down before talking. The conversation will be more productive if you have it when your emotions have cooled off a little, so you don’t say something you may regret later. The anxiety you feel is natural, but taking the time to understand what is causing it will help you know how to communicate the core issues that need to be addressed without all the drama.
  • Focus on the current issue.  The conversation will likely overwhelm you if you pile everything that bothers you.  Avoid using “always” and “never” language and address one issue simultaneously. Using these extreme terms to prove your point immediately puts someone else on the defensive and downplays or ignores the work they did (or did not) do.
  • Take responsibility for mistakes.  Apologize if you have done something wrong; it goes a long way toward setting things right again.

6.   It’s a process. It might look like everyone else is confident and connected, but most people share concerns about fitting in and getting along with others. It takes time to meet people and get to know them. 

7.   Be yourself! It’s much easier and more fun to be authentic than to pretend to be something or someone else.

Nikon Z9 ISO 25600

[NIKON Z 9, NIKKOR Z 24-120mm f/4 S, Mode = Aperture Priority, ISO 25600, 1/6, ƒ/4, (35mm = 52)]

This year Dorie Griggs, my wife, suggested we go and see the Walk-Through Live Nativity Scene at Northminster Presbyterian Church. She was an intern pastor twenty-four years ago. Here are some photos from tonight.

I was surprised that since this is at night and with little light, I was shooting most all the photos at ISO 25600.

Just Lightroom only [NIKON Z 9, NIKKOR Z 24-120mm f/4 S, Mode = Aperture Priority, ISO 25600, 1/125, ƒ/5, (35mm = 24)]
With Topaz denoise and face AI [NIKON Z 9, NIKKOR Z 24-120mm f/4 S, Mode = Aperture Priority, ISO 25600, 1/125, ƒ/5, (35mm = 24)]

I processed them with Lightroom and then used Topaz AI to process them further.

Topaz Denoise [NIKON Z 9, NIKKOR Z 100-400mm f/4.5-5.6 VR S, Mode = Aperture Priority, ISO 25600, 1/160, ƒ/5, (35mm = 200)]
With Topaz denoise and face AI [NIKON Z 9, NIKKOR Z 24-120mm f/4 S, Mode = Aperture Priority, ISO 25600, 1/250, ƒ/4, (35mm = 24)]
Lightroom only [NIKON Z 9, NIKKOR Z 24-120mm f/4 S, Mode = Aperture Priority, ISO 25600, 1/15, ƒ/4, (35mm = 120)]

With Topaz denoise and face AI [NIKON Z 9, NIKKOR Z 24-120mm f/4 S, Mode = Aperture Priority, ISO 25600, 1/15, ƒ/4, (35mm = 120)]
Lightroom Only [NIKON Z 9, NIKKOR Z 24-120mm f/4 S, Mode = Aperture Priority, ISO 25600, 1/250, ƒ/4, (35mm = 24)]

With Topaz denoise and face AI [NIKON Z 9, NIKKOR Z 24-120mm f/4 S, Mode = Aperture Priority, ISO 25600, 1/250, ƒ/4, (35mm = 24)]

While I do not want to shoot at ISO 25600, I found all these acceptable for social media posts. Not sure I would wish to have large prints of them.

Image Stabilization

Z9 also has a Sensor-based 5-axis Image Stabilization system which means that all of these lenses will be stabilized when used on Z9. Nikon claims that the image stabilization of Z9 is effective up to 6.0 stops. Sensor-based image stabilization is one of the most valuable features that you can have.

I was very impressed with the Nikkor 100-400mm. The IBIS gave me sharp images being handheld.

I was shooting this as much to test my gear as to appreciate the event. I can’t wait to do more Christmas photos this season with the Nikon Z9, 14-30mm, 24-120mm, and the 100-400mm. I have been shooting for the past year with all my older F-mount lenses. I am just now getting used to the incredibly sharp Z-mount lenses.

Do You Take U-Turn Photos?

One of my photographer friends Stan Kaady, commented while showing someone some photos of his on his phone that was a “U-Turn Photo.” That is where you see something, make a U-Turn and go back to take a photo.

The grand Mosque of Bobo-Dioulasso was built in 1880 in the Sudanese mud style. Bobo-Dioulasso is a city of about 600,000, the second biggest city in Burkina Faso after Ouagadougou, the nation’s capital. West Africa.

While stopping and doing U-Turns myself, I had never just referred to those photos as U-Turn Photos. I loved hearing the term used this way.

Stan Kaady might only refer to making a U-Turn in your car to get a photo; I often stop and go back to get a second look.

Little Girl in Nicaragua

My mentor Don Rutledge would often look at other photographers’ contact sheets and coach these photographers. One thing he was always doing was asking why did you only take one photo of something and then move on?

Don would then give a lesson on the art of seeing. He believed that our subconscious sees something that catches our attention. He believes that we should take the time and explore when this happens.

While driving from Bobo to Banfora, David and Tami Wood had a belt break on the engine. David was able to repair the side of the road.

It is no different from making a U-Turn. You know something caught your eye. Now is the time to explore the scene. Sometimes you may walk around and look for different angles or change lenses. Sometimes you find everything almost perfect, but you must compose and wait. This is what many photographers do to help out with a photo. They are waiting for something like a person, a car, or even just an animal to come into the frame, and when they are in the right place in the composition, they click the shutter.

Togo, West Africa

Some of the best photos are those U-Turn photos. You follow your gut and emotional reaction and then explore with the camera to find what turned your eyes. When you do, sometimes, you get lucky, and a eureka moment happens. But, sometimes, after exploring, it just never develops.

Night street scene in Bucharest, Romania

What is essential that Don taught me was not just to have one shot on the camera but to explore until you have exhausted the scene. How about you? Do you take U-Turn Photos?

#1 Reason I Like My Z9 Over My D5

When you are looking through the viewfinder of a DSLR, you see through the lens with the help of a mirror and prism that flips the image to look correct.

How bright or dark it looks through the viewfinder depends on how fast an aperture you have with that lens. For example, if you have a 50mm ƒ/4 versus a 50mm ƒ/1.2, the ƒ/4 will look much darker than the ƒ/1.2.

Now when you are looking through the viewfinder of a mirrorless camera, you are looking through the Electronic View Finder. It is a small TV screen. In low-light situations, the viewfinder is brighter than the scene in person. This is the most significant benefit of the Nikon Z9 over my previous Nikon D5.

In the past, having a ƒ/2.8 lens made a visible difference in seeing through the camera compared to a slower ƒ/5.6 lens. However, with the EVF, you don’t see a difference as much anymore.

I have set the Z9 to a 120 Hz refresh rate in the EVF. This affects the apparent smoothness of the Z9’s viewfinder as you move around the camera, and 120 Hz does perform a bit better in this regard than 60 Hz. The lag and flickering on the Z9 are also highly minimal, making for a headache-free experience (at least for me, and I’m pretty prone to headaches from bad displays).

For me, the ISO quality of today’s latest sensors, like the one in the Z9, helps you shoot at ISO’s that you wouldn’t attempt in the past. So while there are still benefits to having a ƒ/2.8 over a ƒ/4 lens, the question is, can I get the job done with the ƒ/4?

[NIKON Z 9, VR 28-300mm f/3.5-5.6G, Mode = Aperture Priority, ISO 8000, 1/200, ƒ/5.6, (35mm = 170)]

When covering corporate events where the stages are often lighted for video, I have no problem shooting at ƒ/5.6. For example, I photographed Garth Brooks for an event in Nashville, and the settings on the camera were 1/200, ƒ/5.6 ISO 8000. The quality of the images was very acceptable.

Due to this, I now have what I am calling my Trinity set of lenses for event work. I have the 14-30mm ƒ/4, 24-120mm ƒ/4, and the 100-400mm ƒ/4.5-5.6 to use for my event work. Easy to carry and let me shoot whatever happens without the fear of not getting the photo.

The best thing about all these lenses is that they are sharper than my previous F-mount lenses. With the EVF’s Nikon Z9 120 Hz refresh rate, I am seeing better than I ever saw while shooting on my Nikon D5.

Some Of My Favorite Sports Images

I enjoyed watching the documentary with Ryan Reynolds and Rob McElhenney on Welcome to Wrexham soccer club in Wales.

Ryan Reynolds talks about how the story is what captivates him. It isn’t just the story of the soccer team, but the town.

It is so awesome when you are a part of the sports community. You see this from playing sports as a young kid, and you are playing with your friends, and your parents and friends show up to watch you play. Everyone who is there is part of the story.

Here are some of my favorite sports photos through the years

« of 79 »

I noticed when I went to college that the level of play went up, and I was still part of the story in the stands. I was in class with some of these athletes and knew them off the field/court.

The docuseries teaches me that the collective story of everyone watching is powerful.

The draw of sports is more than just the game. One of the fans of Wrexham said this is the only time that 4,000+ in their community get together in one place and do something together.

The exciting thing with sports is that at the end of the game, it is either a comedy or a tragedy for your team. The good news is that there is always another game and a time for redemption if that is necessary.

The other great thing about sports is that you are part of the communities story. You get to live this out with others. How exciting.