
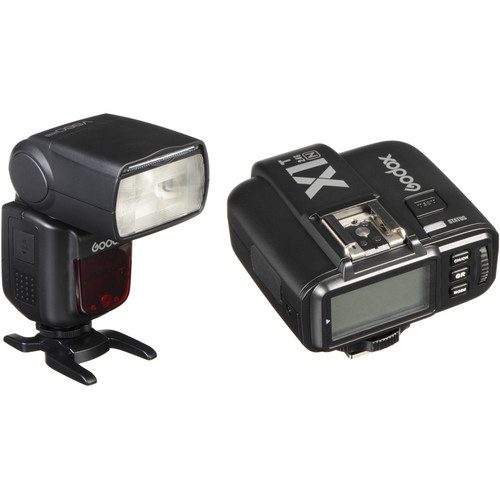

I purchased the Godox 860IIN [$199] with the radio transmitter Godox X1NT [$49.95]. I did this because I loved the Neewer TT850, which is pretty much the same flash as the TTL capabilities.
GODOX X1-N FEATURES
Godox 2.4GHz RF Radio System
Range – 100m +
Flash Modes – iTTL / M / OFF
HSS to 1/8000th
Second Curtain Sync
FEC / FEB – 1/3rd Increments (±3 Stops)
FEL (Flash Exposure Lock)
Manual Flash – 1/128 – 1/1 Output (1/3rd Increments)
Remote Flash Zoom (Auto / Manual) (Global for All Groups Only)
Group Mode – 5 Groups A / B / C / D / E (D & E Are Remote Manual Only)
32 Channels
Large LCD Display with Back Light
HSS Delay Setting – 0~19.9ms, (100us Increments)
Modeling flash
Auto Memory Function
AF Assist light (With an On/Off Switch)
Wireless Shutter Release
Micro USB Port for Firmware Upgrades
Transmitter PC Sync Port – Input & Output
Receiver 2.5mm Sync and Shutter Release Port – Output
I think the radio transmitter is what made the difference to me. First, the radio transmitter for the Neewer TT850 required me to tape it to the side of the flash, or it could get bumped off, and the channel selection was dip switches that often got bumped. You would need to use a hot glue gun to fix it from being bumped.
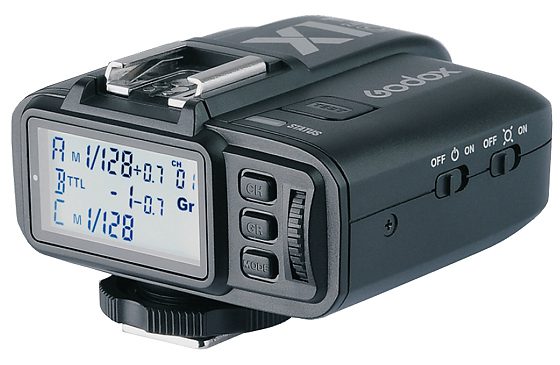
Now on this new Godox I bought, I can still pick a manual mode and dial in Full power to -1/128 as I did before with the Neewer system. See the remote radio photo showing you group A & C on manual and B on TTL.
Besides being able to use TTL now, I wanted to buy the flashes for High-Speed Sync up to 1/8000. This will let me shoot at ƒ/1.4 outside using flash.
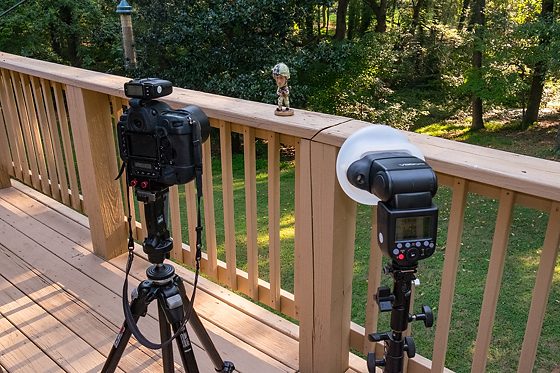
Getting A Natural Fill Light Feel
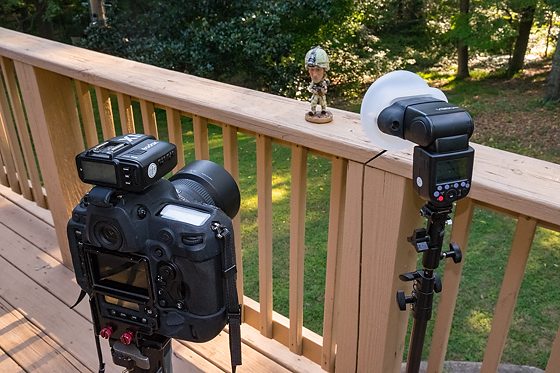
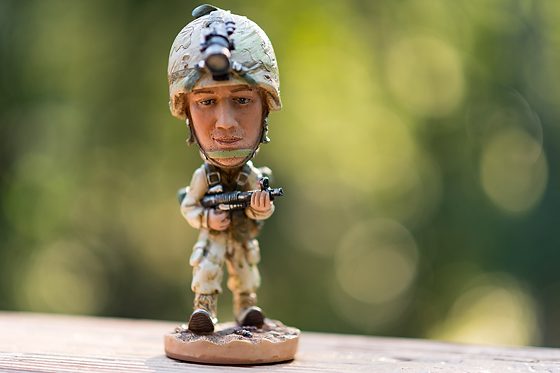
I started with the flash closer and realized that even though it is TTL if you back it up just a little, you stand a better chance of not over-exposing as much.
Now what I want to do with my use of the Godox flash, or any moment, is to wink the second in to clean up the skin colors and remove some of the shadows often created from the sun being above most subjects during the central part of the day.
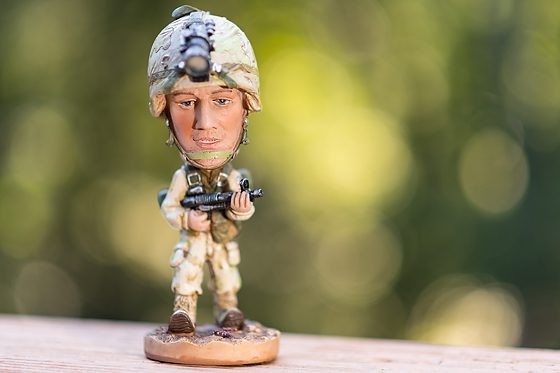
Now I did not adjust the exposures in Lightroom. I just wanted you to see what the camera and flash do without any help from tweaking the exposure.
Here you can see the setting on the Radio.
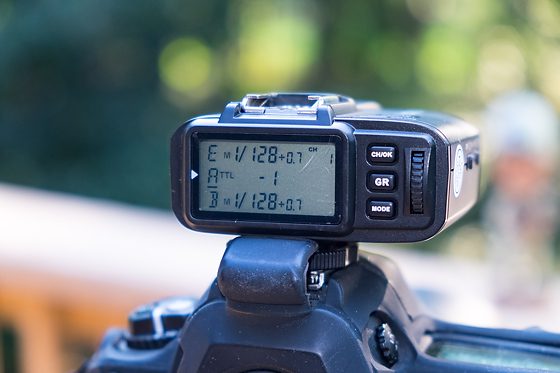
While E and B have some settings in manual mode, I have only one flash set on Group A. So this is the only thing that matters for my setup. If I had other flashes set to Group E and B, they would be necessary.


Now you also can have the camera under and overexpose. I usually shoot in Aperture mode, so when you under or over-expose, the camera will adjust Shutter Speed and ISO to get the proper exposure.
The downside to using TTL is that the light values change in the scene if you move the camera. The camera’s sensors are what are used to figure out the TTL proper exposure. The camera will make the scene look normal, under-exposed, or over-told, depending on your settings. However, this doesn’t mean it is what you were looking for; it is as if the camera’s sensor is interpreting the data.
This is why you can keep the flash to manual mode at the same value as long as the flash and the subject remain at the same distance.
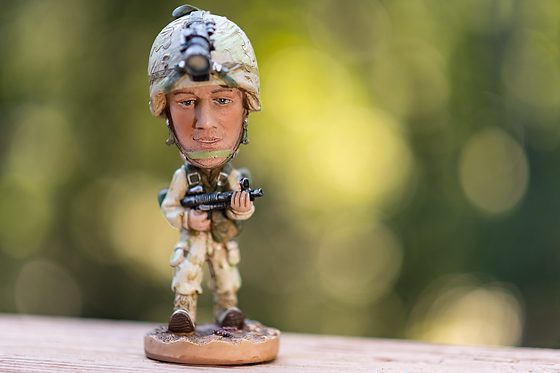
I believe that sometimes the flash is too strong and makes the background look unnatural. Many photographers use no flash and open up until the face looks great and let the background go hot.
If I am going for the high key, over-exposing the camera and just winking that flash at -3 EV looks natural yet color correct on skin tones better than without the flash.