
This blog is the third article I have written on using your Flash. My first one was about avoiding the dreadful red-eye syndrome. The second article I wrote was about whether you should use Flash. Finally, I want to address specifically the technique of off-camera flash.
First, let’s start with what we do know about Flash. We know that most cameras with a flash built in them give straight on harsh light and are subject to red eye. The red eye is due to the flash is proximity to the lens. Sometimes this is the only option you may have for a situation. In this case, getting the photo is more important than no photo. Almost every point-and-shoot has a flash built into them, and most people’s photos have this harsh look. The other place we see this flash is in crime scene photography, which has been made more famous through TV shows like the CSI series.
When the flash on the camera is pointed straight at the subject, it will look like most all amateurs’’ and crime scene investigation photos. In other words, anyone can get this type of photo, which is almost the norm in flash photography.
When creative directors, art directors, and editors hire professional photographers, an assumption is expected and not always stated. People hire a professional photographer to get something different than what they would do with their cameras. While picking a unique angle with a different lens may give the client something different, the minute you introduce the straight-on flash, it immediately looks like something they would or could have done themselves very quickly.
Lighting has more impact on a photograph than any other aspect of photography. Without light, there are no photos, and what kind of light determines much more than whether you can see the subject. It helps shape the issue and creates a mood more than a camera angle or lens choice.
When shooting in black and white, the direction of the light helps shape the object and can make a photo have more pop or subdued, for example. In color, the color of the morning and the direction will help establish the mood. Theater type of lighting makes your subject look dramatic, for example. And a lot of white light can make something look clinical or even be used to simulate the feeling of being in heaven.
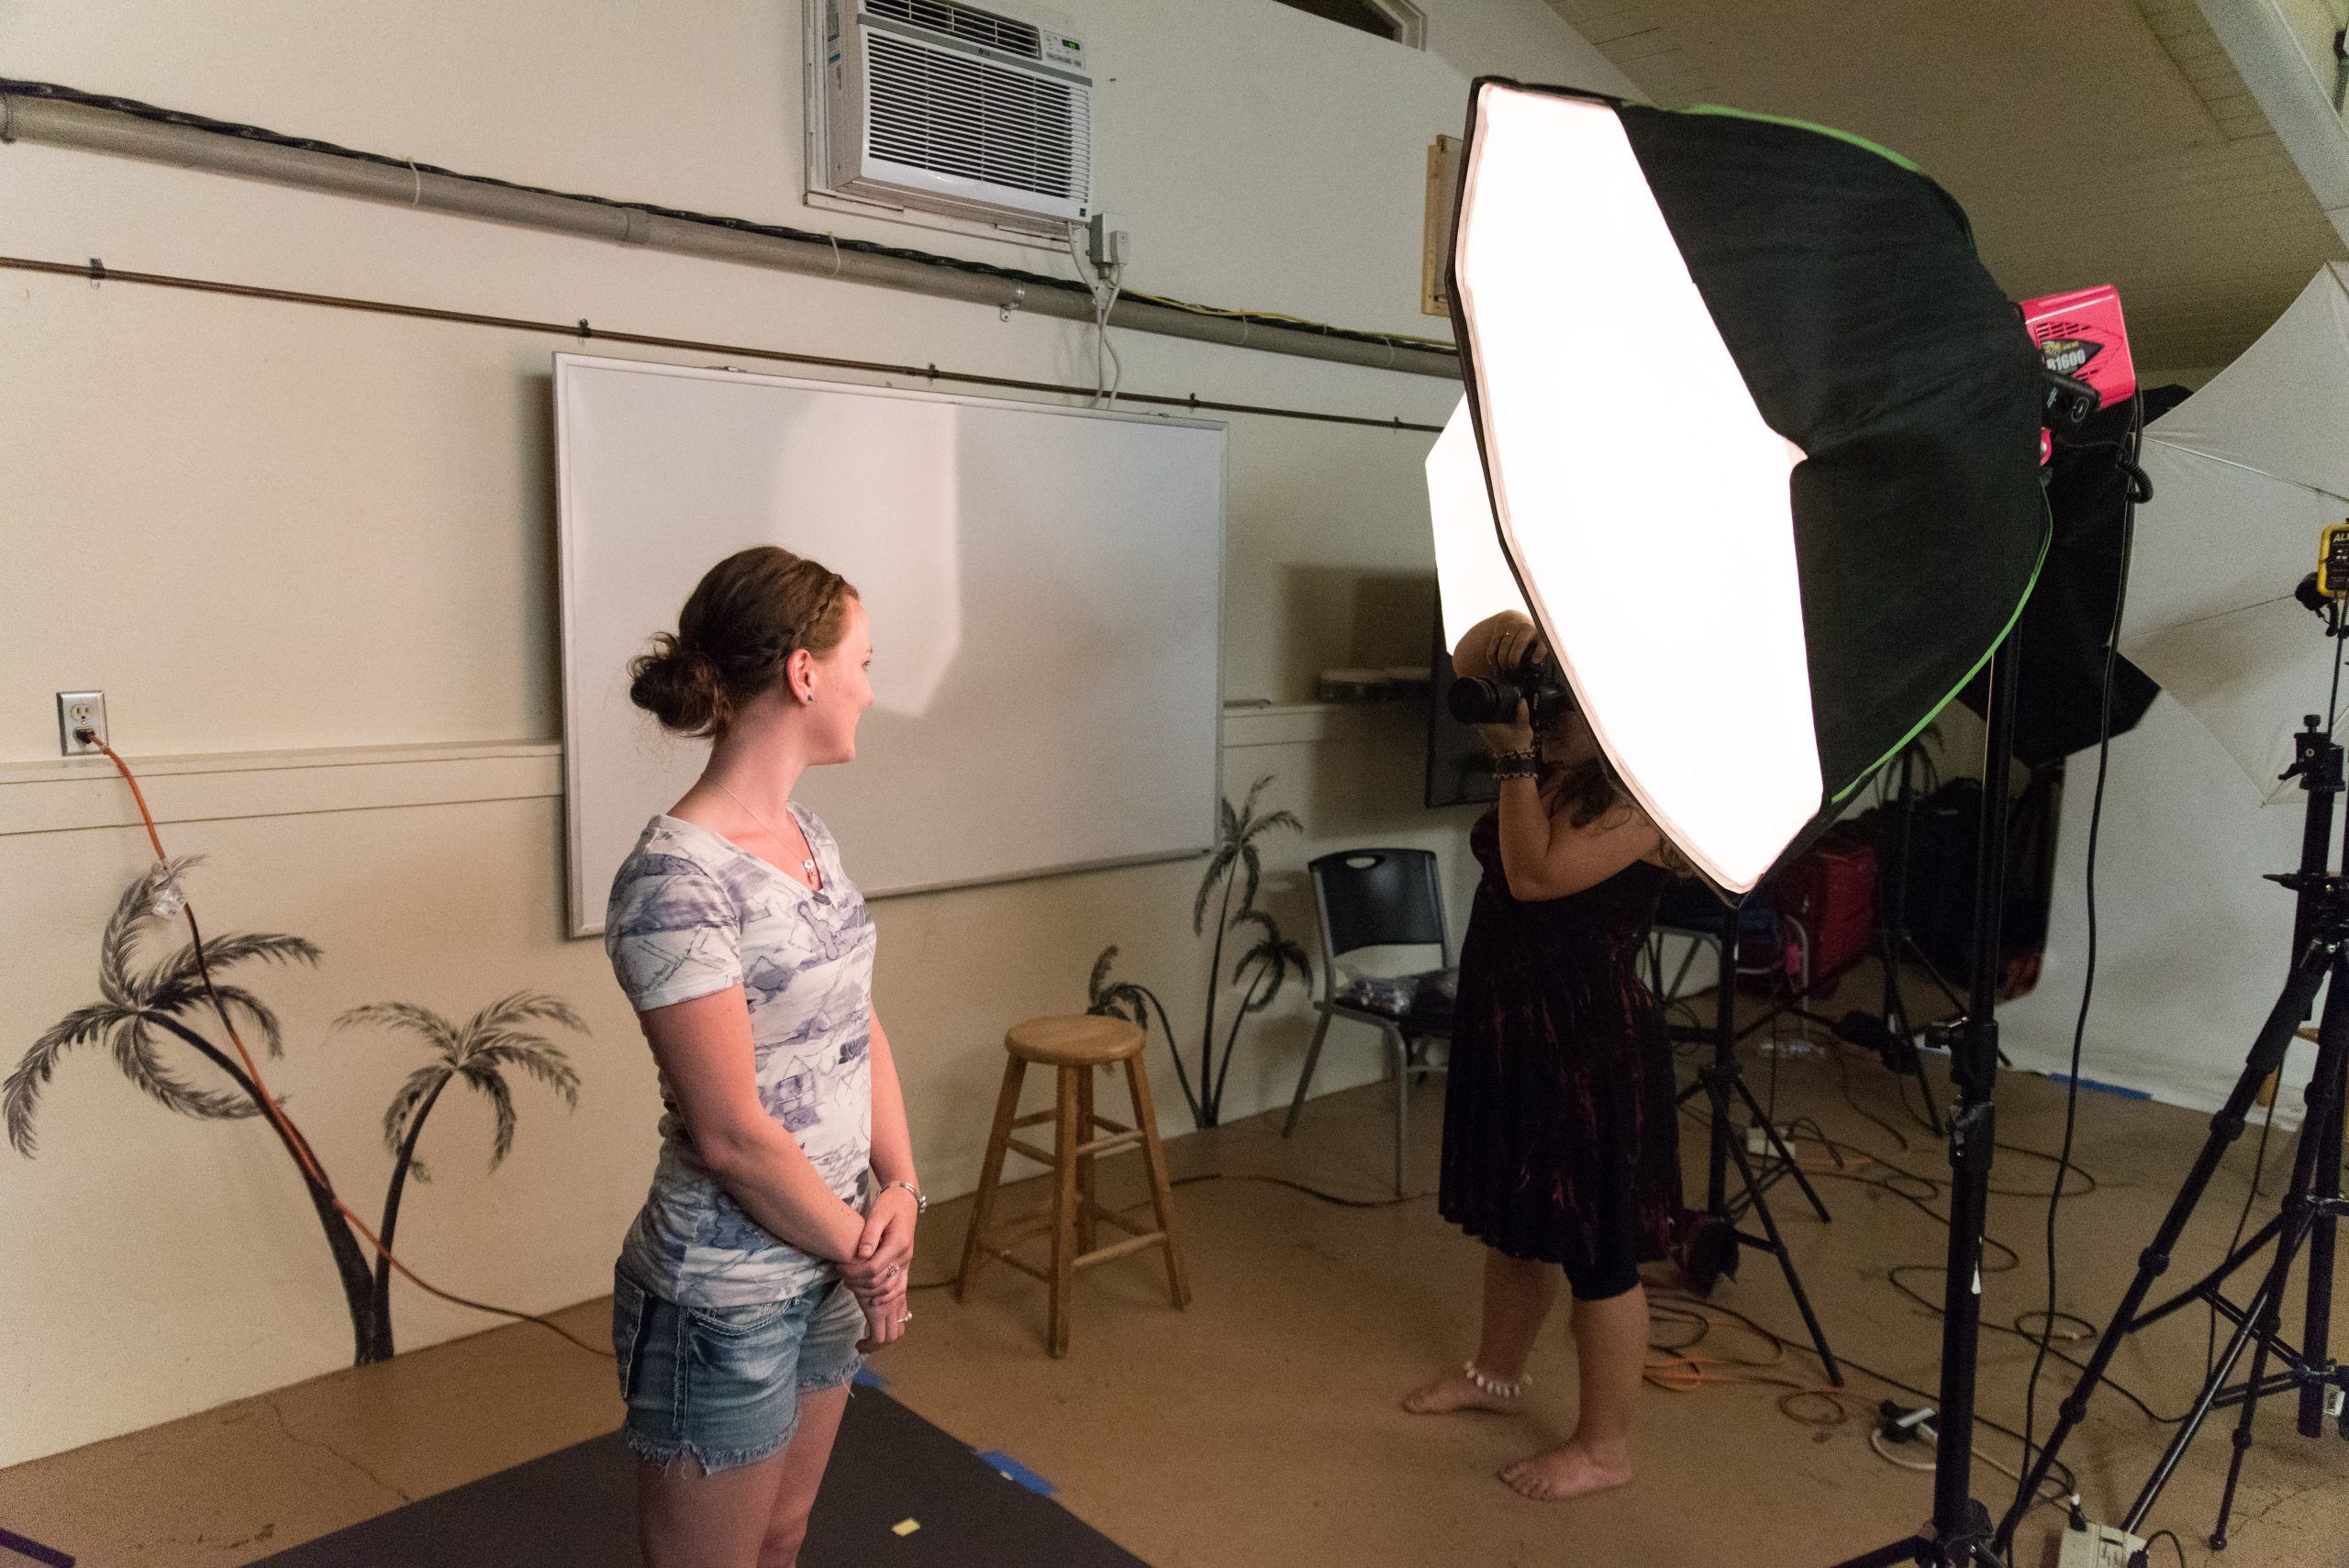
I have mentioned in earlier articles to avoid red eye bouncing your flash off a ceiling or wall. What I consider one of the most dramatic types of lighting requires your flash to be off-camera.
There are two angles which I like the best. First, having the light 45 degrees to either side of the subject relative to the camera gives a lighting effect used by the great artist Rembrandt. Rembrandt liked to have the light 45 degrees to the side of the subject relative to his perspective and about 45 degrees above his view. If the subject looks straight, you will get a small triangle on the cheek on the opposite side of the light. The shape of the nose and brow help create this triangle. You may have to ask the subject to move their head slightly to make this work right.
Second, I think side lighting the subject works well for people. Side light is where the light is 90 degrees from the camera on the left or right side of the subject.
There are two ways to achieve this technique. First, you can use a cable between your camera and the flash. The second way is to use a remote to fire the flash.
When using a cable (check your manual for the flash and camera to get one for your camera), you must be physically close to the subject to get this to work. The reason is the further you are from the subject, the angle between the lens and the flash relative to the subject will diminish, and you will have photos that look more like on-camera flash. A straightforward solution is to buy a longer cable. However, there is usually a limit on how long this cable can be and still work with your flash.
A little more expensive solution is to use a remote. There are two kinds of flash remotes: a generic radio remote and a wireless one designed to work with your flash. Both of these will let you place your flash away from the camera, and each has advantages and disadvantages.
The advantage of the radio remote is it works up to a distance of up to 400 feet—depending on the unit. It works around walls and even through them. The disadvantage is if you need to adjust the power of the flash, you must go to the flash and adjust it manually. Your TTL function—where the camera figures out the correct exposure is lost.
The advantage of the wireless system, like the SU-800 for Nikons, is you can control each flash unit separately through the units. Your camera will fire the units, and since it is working in TTL mode will adequately adjust the exposure. While both systems will let you use numerous flashes together, the TTL wireless system allows you to ratio the lights from the unit, and therefore you can look at your LCD and make an adjustment and never have to move. One more significant advantage of a wireless system like the Nikon is that you can use a shutter speed more critical than the sync speed of, say, 1/250. Faster Shutter speeds open up many possibilities—especially outside on sunny days.
Using off-camera flash requires a lot of practice to master the technique.
Will your photos be better because you use this technique? Maybe, but most importantly, they will look different; sometimes, this is enough to get your audience’s attention.